Classifier Nodes
Note
Making changes to classifier parameters and versions is available only in draft mode
Creating Classifier Node
To create a classifier node:
Make sure the "Classifiers" section is open and draft mode is enabled.
In the "Versions" section put the cursor on the line of the desired version and click the "Classifier nodes" button at the end of the line.
In the panel that opens, click
 "Add" in the lower left corner or on the phrase "Create Classifier Node" in the center of the panel.
In the "Properties" tab, fill in the Name and Display Name of the classifier node (Figure 1). The Name is filled in Latin letters without spaces and is the system name. The Display Name can be filled in Cyrillic letters and is used for display in the interface.
If necessary, add Description for the node.
Switch to the "Attributes" tab and create the necessary ones. For classifier nodes, you can create simple and array attributes.
The "Inheritable" flag is available for the classifier node attribute. The attribute with the flag enabled will be inherited by all child nodes.
Click "Save" in the upper right corner.
Note: allowable length of the classifier name, its version and node names can be set in "System Parameters" in the "Classifiers" section.
To create a child node:
On the left side of the panel hover the cursor over the line of the node for which you want to create a child node.
Click the
 menu button and select "Add Node".
The selected node will be designated as a parent node and a child node will be created in the hierarchy tree.
Fill in the properties and attributes of the child node similarly as when creating a simple classifier node (see above).
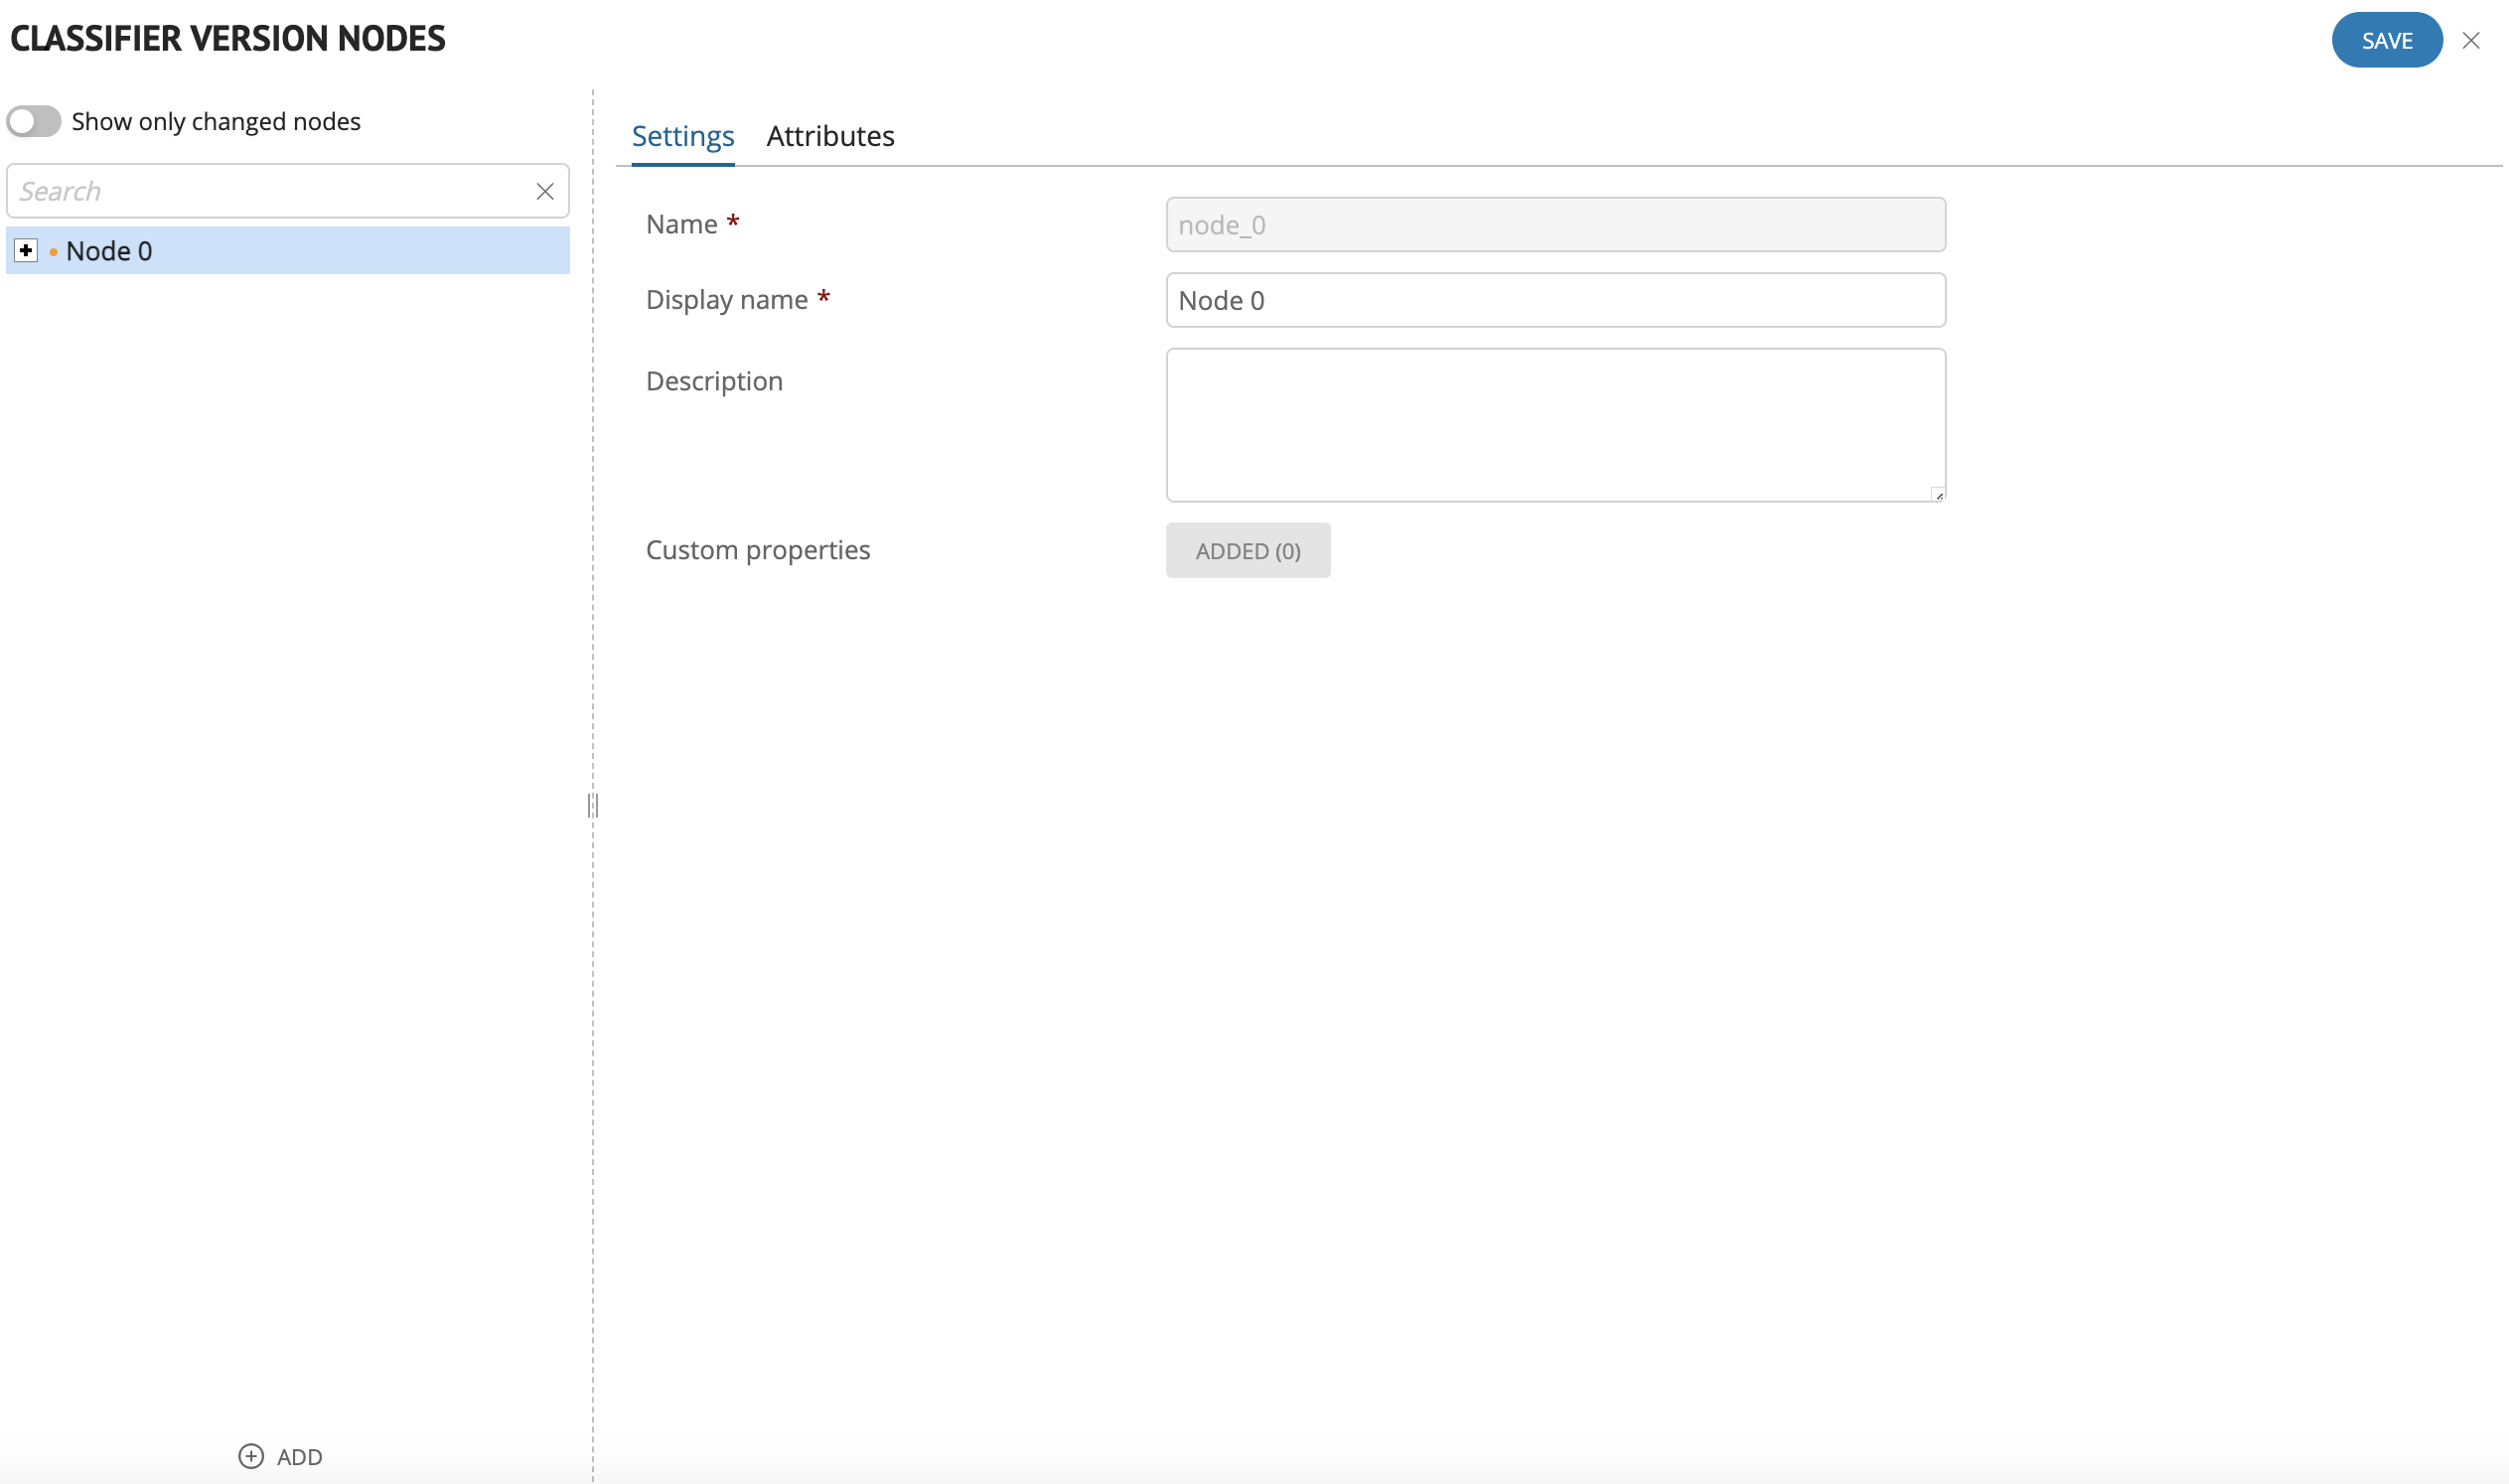
*Figure 1. Example of filling in the classifier node parameters
Moving Classifier Node
To move a node:
On the left side of the panel place the cursor on the line of the node you want to move.
Click the
menu button and select "Move Node".This will open a model window for moving the node.
Select an option: Move to the root or Select node. In the second case, select the necessary node from the list of existing nodes, which will be assigned as a parent node.
Note
It is possible to edit multiple nodes and save all changes at once
Tip
The "Show only changed nodes" switch allows you to display only nodes that have changed (to check before saving)
Deleting Classifier Node
To delete a node:
On the left side of the panel place the cursor on the line of the node you want to delete.
Click the
menu button and select "Delete Node".This will open a model window for deleting the node:
If the node has no child nodes - click "Continue" in the opened window and the node will be deleted.
If the node has child nodes - several options appear:
Full deletion (with subtree) - delete the node together with its children nodes;
Move children to the root - delete a node and move its children nodes to the root;
Select new parent node - deleting the current node and selecting a new parent node, where child nodes will be moved to.
As a result of the action, the node is marked as deleted, but remains visible until you save the changes.