Record History
Viewing Record History
To view the record history:
Open the desired record and click the
 button located in the upper right corner of the record card.
Select the "Record history" item. This action will open a record history table showing all actions taken on the current record.
To return to the record card, click "Return to record" to the right of the Record history title.
The "Event" column captures the specific action that was performed on the record: creating or updating record; deleting validity period of record, etc.
Sorting the table by date of change is available in the "Update date" column. If you click the  button to the right of the column header, the inverse sorting is applied - from the older event to the newer one.
To filter the table by the "Event", "Login", and "Source system" columns:
Click
 "Filter" to the right of the desired column header.
From the drop-down list, select the value by which the table will be filtered and click "Apply".
After applying the filter, the "Filter" icon will change its color to blue. To reset the applied filter, click the "Filter" icon again and select Cancel.
You can turn all filters on at once by clicking the "Filters On/Off (1)" button in the upper right corner of the table. The number in brackets indicates the number of applied filters.
To reset all filters, use the  button in the upper right corner.
A number of record history events are temporarily available only when migrating data from the Unidata MDM 5.x. List of events:
cascading record change,
rollback to the previous version of the record,
cascading link change,
rollback to the previous version of the link.
Note
When switching from the record history to the revision view, a message about viewing the historical record is displayed. Editing record impossible.
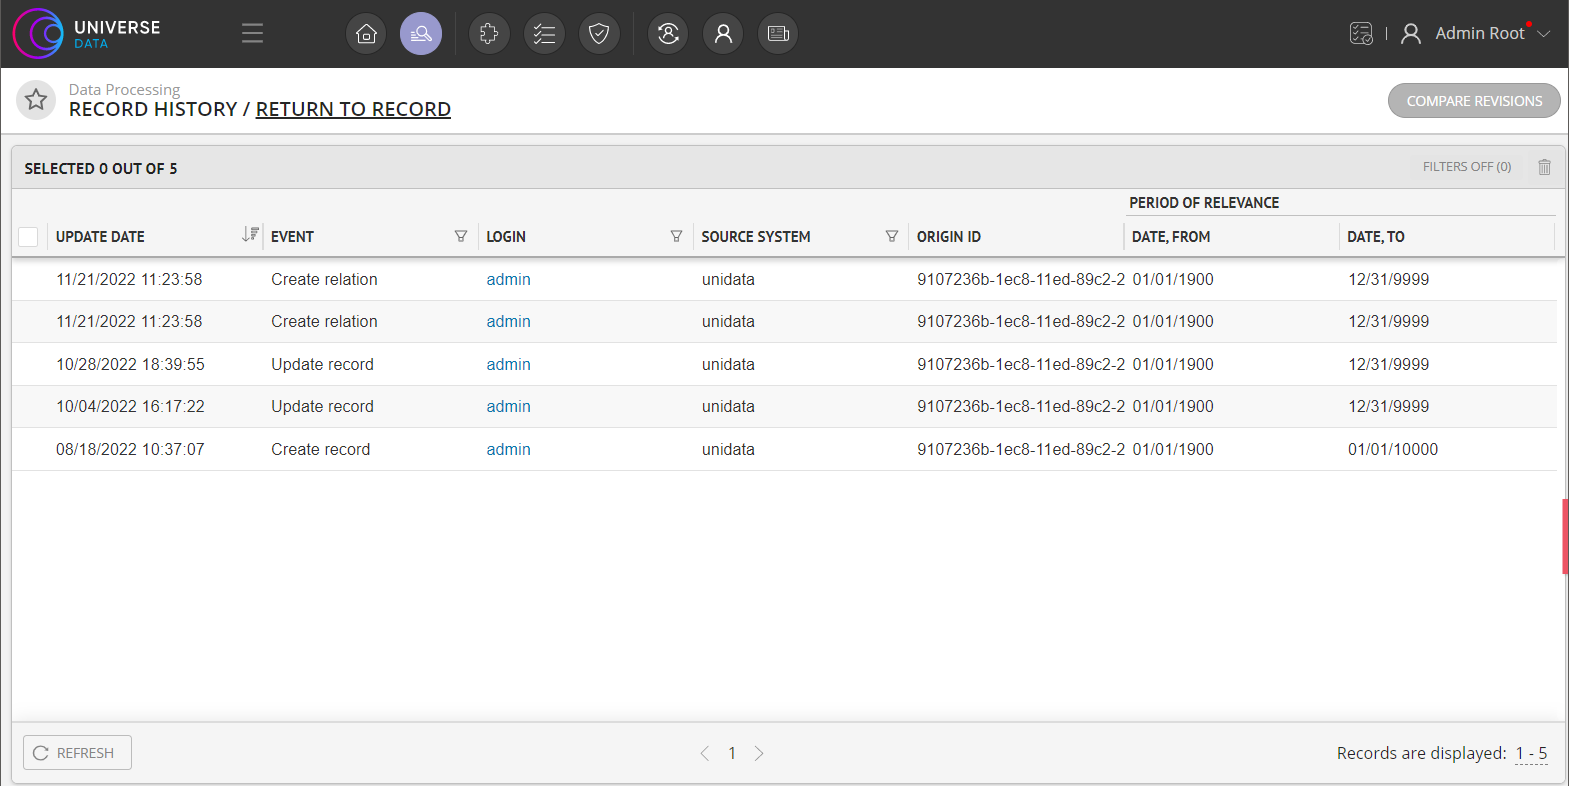
Figure 1. "Record history" screen
Comparing Record States
To compare record states:
Check the required rows with the checkboxes (from 2 to 5 rows) and click the "Compare revisions" button in the upper right corner of the screen.
When five lines are selected, a message appears stating that the maximum number of revisions for comparison has been selected.
The "Compare revisions" button is not available if less than 2 table rows are selected.
As a result of the action, a drawer with the states of the record appears. The actions for comparing revisions are identical to those for comparing records.