Creating Classifier
Note
Creating and editing the classifier and its versions are only available in draft mode
Note
Access to create and import new classifiers is enabled if the user is assigned the role with the "Administer Classifier Model" right and top-level rights in the "Classifiers" group
To create a classifier:
Make sure the "Classifiers" section is open.
Click
 "Create" at the bottom of the classifiers list.
In the pop-up window, select an existing draft or create a new one.
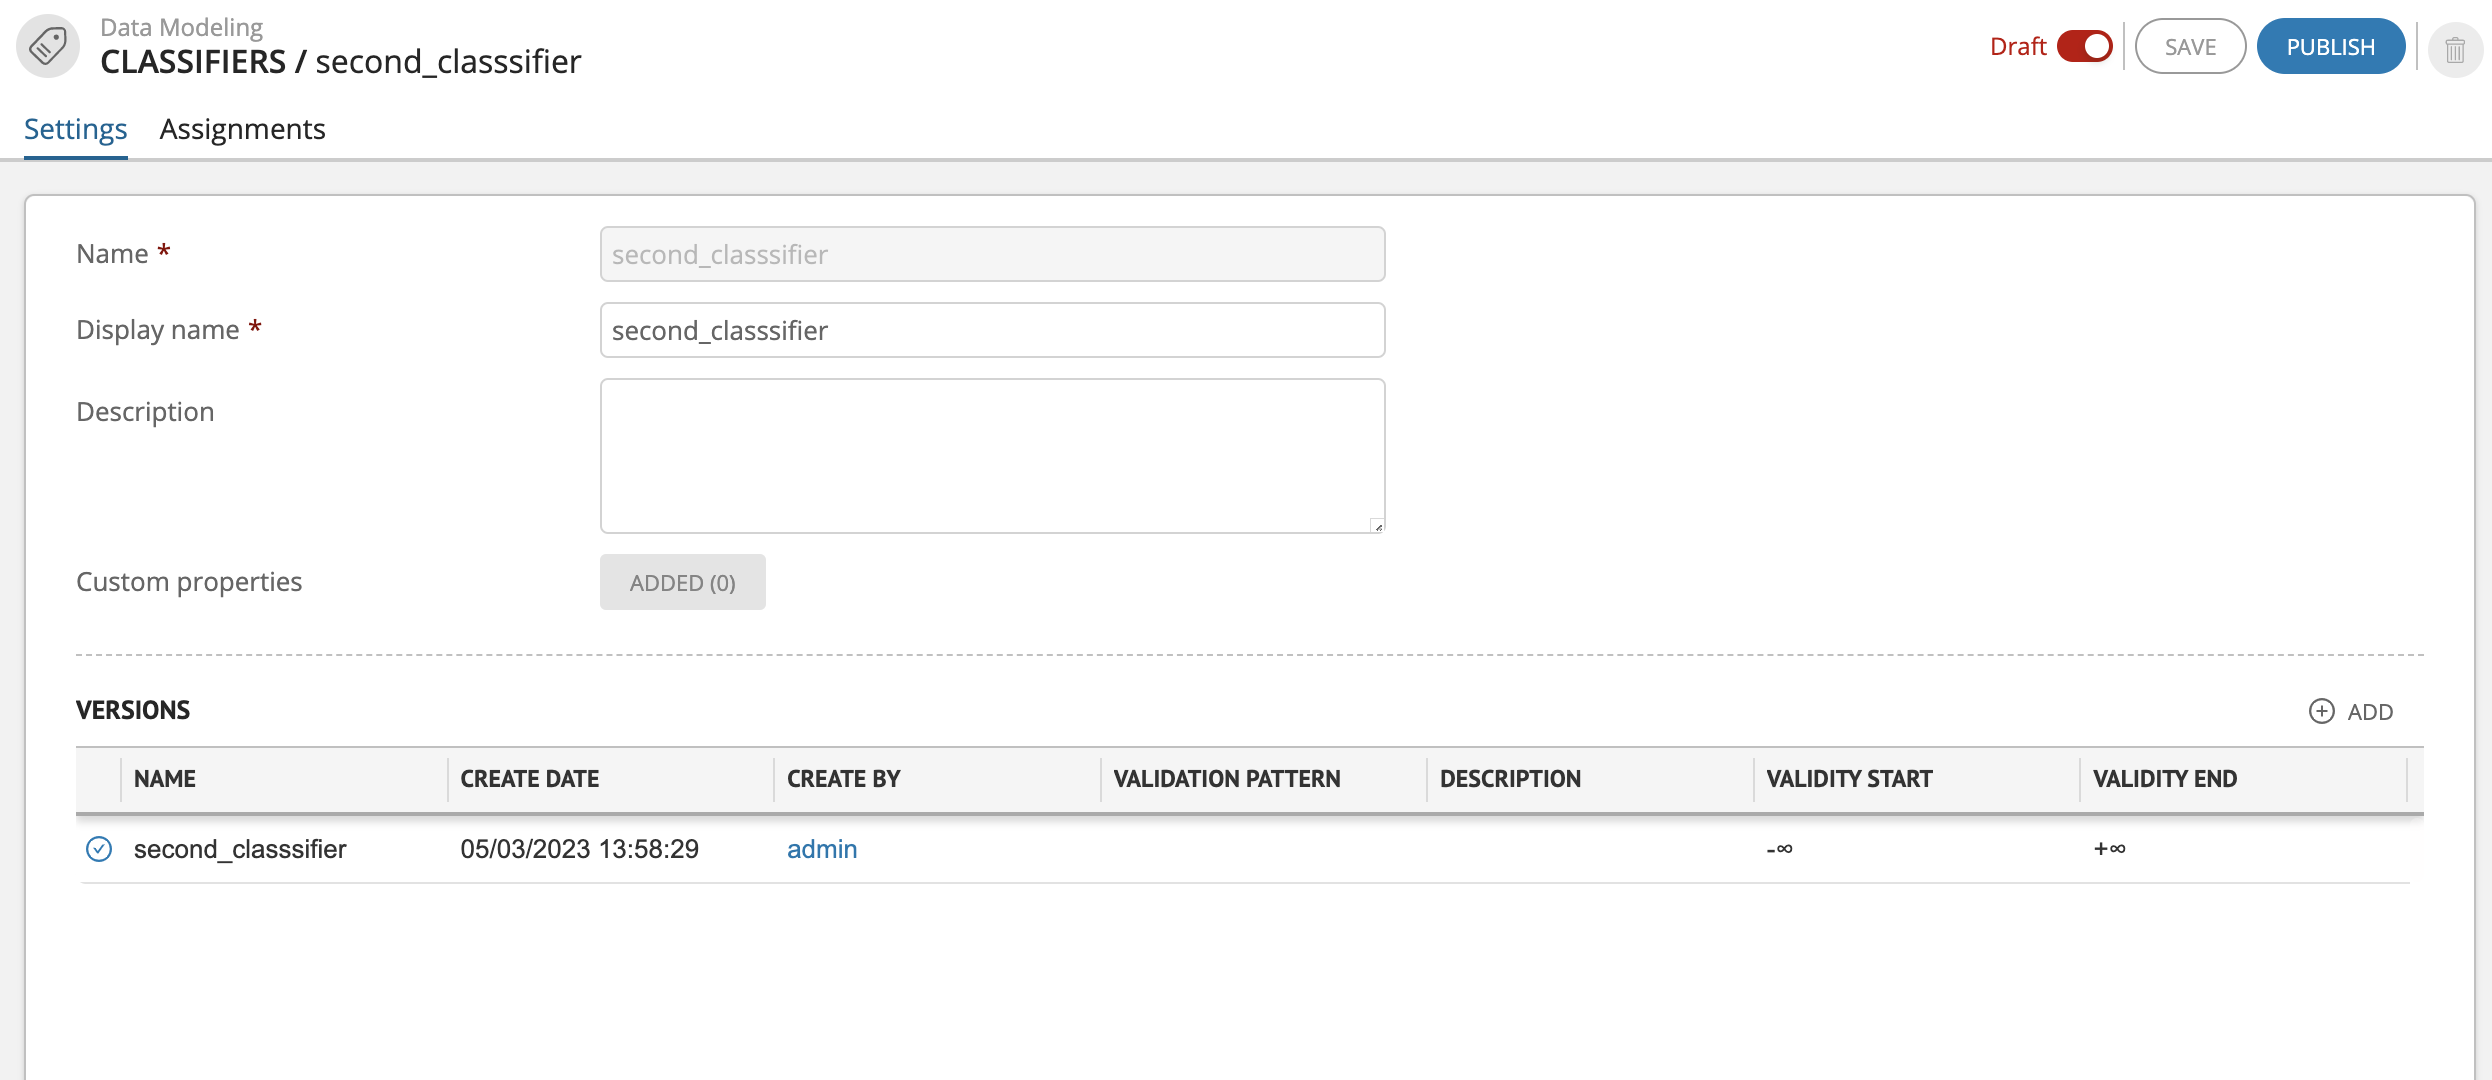
Fill in the Name and Display Name of the classifier (Figure 1). The Name is filled in Latin letters without spaces and is the system name. The Display Name can be filled in Cyrillic letters and is used for display in the interface.
If necessary, add Description of the classifier.
Click "Save and Publish" in the upper right corner.
As a result the classifier will be published and assigned to the default version, which will be displayed in the table below in the "Versions" section.
Adding versions of classifier is possible only for saved classifiers.
Next create classifier nodes.
Note: allowable length of the classifier name, its version and node names can be set in "System Parameters" in the "Classifiers" section.
Assigning Classifier
To assign classifier to entity/reference set:
Make sure the "Classifiers" section is open and draft mode is enabled.
Go to the "Assignments" tab.
Click
"Add" to the right of the entity/reference set header.Select the desired entity/reference set from the drop-down list to which the classifier will be assigned.
As a result of the action, the selected entity/reference set will appear in the list of assignments.
The Minimum and Maximum fields are used to limit the number of classifications. Move the cursor over the line of the required entity/reference set, press the
 button and enter the required values:
0 - the number is not limited; the Minimum field - the minimum number of classifications that can be created; the Maximum field - the maximum number of classifications.
Click "Save" in the upper right corner.
Publish the draft after making all changes.