Processing Tasks
The task can be closed with different results. The standard pipeline provides the options:
Approve.
Directed to correction.
Approving Task
To approve a task:
Find the required task from available ones.
Make sure the task is assigned to you. Assign task, if this has not been done.
Check task details if necessary: proposed changes, comments on previous tasks, etc.
The process schema is available by clicking on the "Show Process Schema" button.
Viewing the history of the approval process is available by clicking on "Process History" in the top right corner of the screen. In the "Process History" tab, clicking on "Go to Process" will open a pop-up window where you can view the schema and process history.
In the "Variables" tab, a list of indexed variables is available.
The "Object" tab allows you to view the record card of the record that has been changed (for Enterprise Edition only).
If necessary, leave a comment to the task in a special field or add an attachment using the
 "Add" button in the corresponding part of the window. All comments and attachments will be displayed in the process history.
An attachment can be added only to a task open for execution and only by a user who is the executor of the current step/task.
When adding an attachment, it is possible to enter a brief description, which will be available for viewing when hovering over the
 tooltip.
The buttons
 Edit,
Edit,  Download,
  Delete will be available for the user-executor after adding an attachment.
Any user with permissions to view the task can download the attachment.
Select the "Approved" option in the "Approval result" field, and then click the "Complete task" button in the upper right corner.
As a result of the action, the task will be completed and will change its status to "Completed".
The workflow will move on to the next step, which will make the task of the new process step available. If the step was the last step, the workflow will be finished
Note
In the current implementation, editing a record is available at any stage of the workflow to any user with rights to the entity/reference set, regardless of whether the user has taken/is assigned to the task
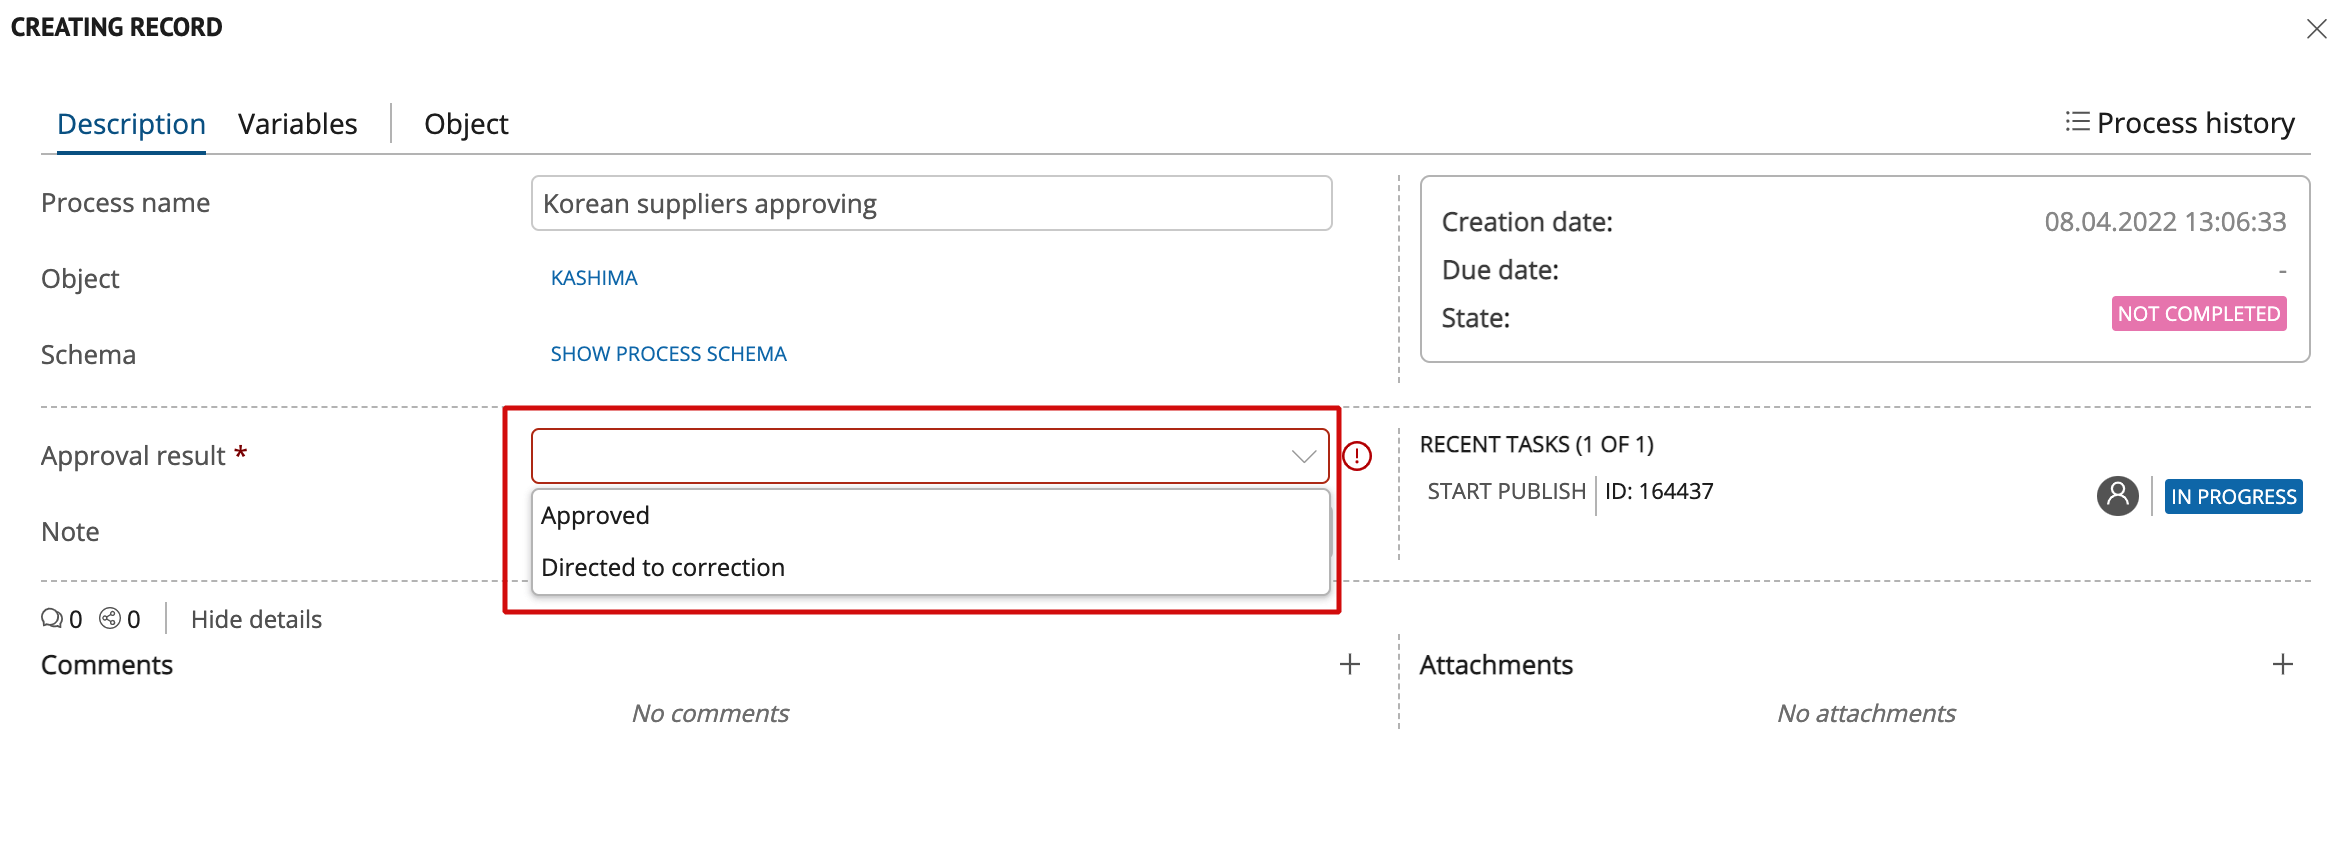
Figure 1. To approve/deny a task
Denying Task
To deny a task:
Periodically check for new tasks for the current user. Find the required task from available ones.
Make sure the task is assigned to you. Assign task, if this has not been done.
Check task details if necessary: proposed changes, comments on previous tasks, etc.
In the "Approval result" field, select the "Directed to correction" option.
If necessary, specify a comment and add an attachment. All comments and attachments will be displayed in the process history. The process diagram is available by clicking on the "Show process schema" button.
Click the "Complete task" button in the upper right corner.
As a result of the action, the task will be completed. A new task “Correction” will be created.
A workflow will return to a previous step. The workflow can be configured in such a way that denying the task will end the workflow.